Wall basting tutorial
There are approximately four hundred thousand different ways to baste a quilt. Or that's how I felt whilst googling "How to baste a quilt"...
I've tried a few different ways with some luck and some mishaps, so I thought I'd bring the total quilt basting tutorials online to four hundred thousand and one!

Why do I baste on my wall?
- I hate to pin. I just won't do it.
- I hate getting on and off the floor. It kills my knees, I hate fighting with a sticky quilt that folds all over itself, and it makes it SUCH a chore that I procrastinate this step.
- I finally solved the problem of over-spray and a gummed-up presser foot. More on that later.
Lastly - this method works best for smaller quilts, but I have successfully wall basted an 72" square lap quilt. Just get a chair and strong masking tape.
Ready to get started?
Supplies needed:
Masking tape or painters tape (masking tape is stronger for larger quilts)
Basting spray (I use whatever I have - I've used lots of brands and they all work just fine for me.)
Backing, batting, and pieced quilt top - make sure your backing and batting is 3" or so larger than your top on all sides.
Step 1: Tape your backing to the wall with generous amounts of tape. Start with the top, then smooth it out from the middle to the sides, adjusting your top pieces of tape if needed to make sure the fabric is flat and smooth. Do not spray your backing!

Now here's my secret - I had awful issues with over-spray getting on my wall and batting, then gumming up my presser foot. So now I ALWAYS spray the smaller layer either outside or on a painters canvas and stick it to the larger layer. I end up with ZERO sticky spots around the edges doing it this way! That's a win in my book.
Step 2: Lay your batting on a painter canvas or somewhere you don't mind getting a little sticky and spray it with the basting spray. Pay special attention to get all the way to the edges and corners. Don't go crazy, just enough to make it feel like a post-it note is perfect.

Step 3: Carefully pick up the batting and stick it to your backing. I find it helpful to stick it lightly at the top so it stays put, then start smoothing from the middle outward. You can gently lift areas up and re-position if needed.

Step 4: Lay your pieced top on your canvas and spray it - take care to get the edges and corners, just like the batting.

Step 5: In the same way, stick your top to your batting. Go slowly and make sure your seams are laying flat and smooth. You can gently lift it and re-position if you need to. Once smoothed down carefully peel your tape off and you're ready to quilt! I typically trim my batting and backing to 2" or so from the edge of my quilt to make sure it doesn't fold over while quilting. Not like that ever happens.....

Happy knees = happy basting = happy quilting!
Happy sewing!
-Rebecca
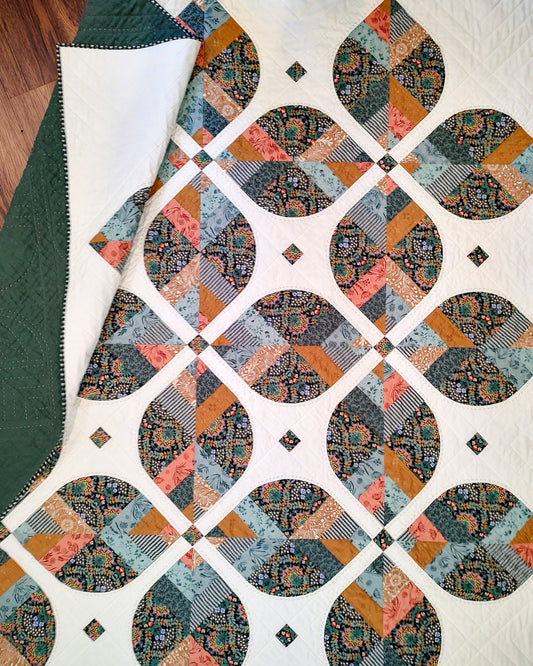
Fabrics used:
- Charm pack of Thicket by Gingiber for Moda
- 1/2 yard of Tuner Tumble City (City Loft Fusions) by AGF Studio for Art Gallery Fabrics
- Backing: Roses and Letters (Capsules - Letters) by AGF Studio for Art Gallery Fabrics


