Southern Amaryllis Curve Tutorial
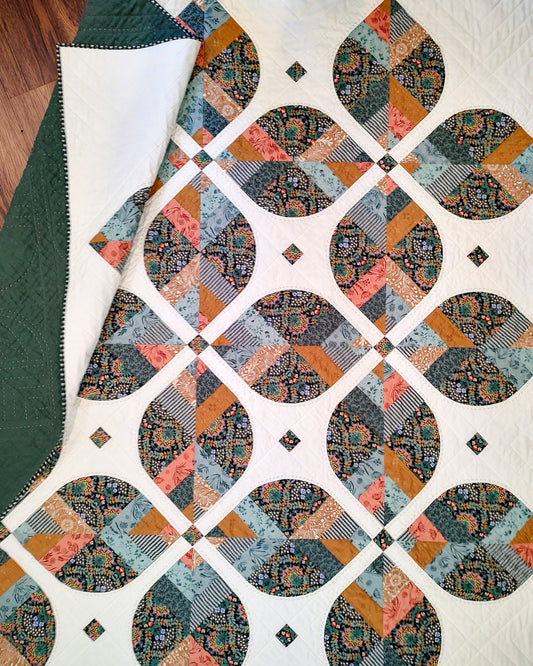
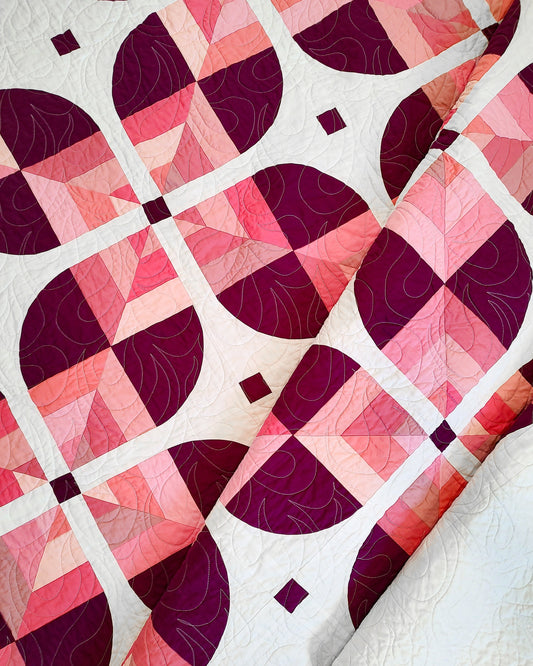
I've been quilting for several years now, and yet - I had not tackled curved piecing until this quilt. Like many quilters, I was intimidated! But when Cait and I designed this quilt we decided to take on the challenge and can happily - and confidently - say this is a great pattern for a first-time introduction to curved piecing.
We recorded a short and sweet video below to accompany these tips for sewing the curved corner pieces of the Amaryllis quilt.
- Print and/or cut out the pattern templates from the pattern - we recommend using cardstock if you're printing from your home computer.
- Using your 5 1/2" background squares - cut out Template A
- Using your 5 1/2" accent squares - cut out Template B
- Fold each cut piece in half, pinching to mark the middle. Pin the middle points of your A and B pieces, right sides together.
- Line up and pin the edges - optionally, add some pins throughout the curve.
- Using a tool such as tweezers or a seam ripper, line up the fabrics just an inch or so in front of the pressor foot - sew slowly and ease the fabric together as you go.
- Press towards the accent fabric - the curve should open up easily this direction. Press carefully to avoid warping or stretching the fabric.
- Your final piece should measure 5 1/2" square.

The Amaryllis quilt has a corner square triangle that is assembled to the background prior to the curve. This tutorial is simply showing the curved piecing.


